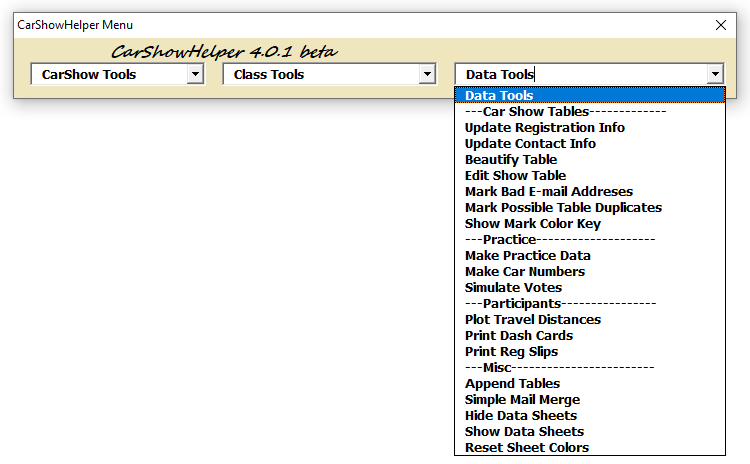
Data tools menu contains tools that help organize, analyze and use your car show data.
---CarShowTables-------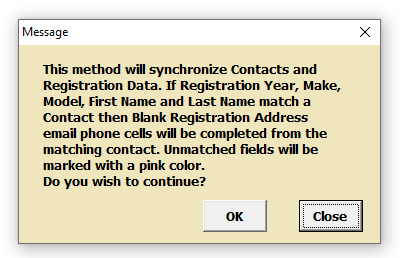
There is no dialog box for Update Registration Info, but it does post the above warning.
Update Registration Info fills in missing Registration Contact Information data by comparing the Registration and Contacts tables.
Back to top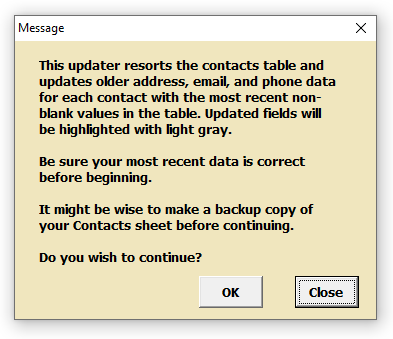
There is no dialog box for Auto Update Contact Info, but it does post the above warning.
Registrants may have changed their contact information between shows. If a contact's first name and lastName are the same then replace the email, street, city, email, phone with the more recent non-blank data. Caution! A person's name may not be unique. For example A son named after his father may live at a different address. There is a society for people named "Jim Smith" .
Back to top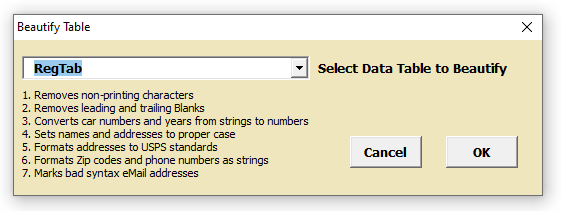
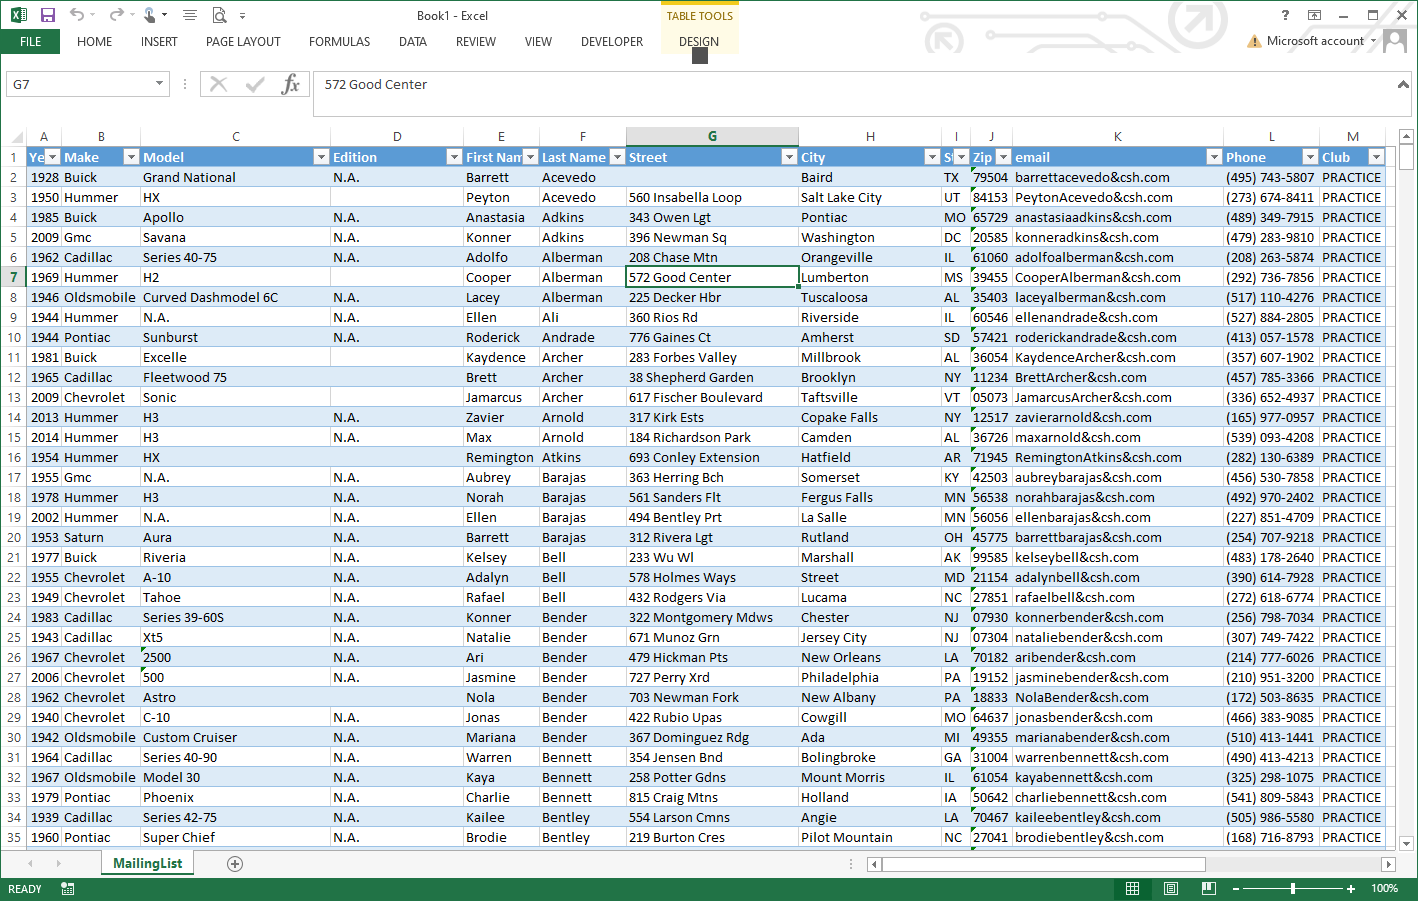
As shown in the figure, Beautify Table cleans up a show table for a neat appearance and proper data format. Excel-Paste overrides the formatting in a cell and can cause errors, for example when a number is pasted as a string. Beautify Table will fix most of these problems. Formatting addresses to USPS standards eliminates potential contacts duplicates, for example by changing Avenue, Ave. etc. to the standard "Ave". People are often inconsistent in how they write their address. These minor variations create essentially duplicate contacts entries.
Select a table to beautify and click OK.
Back to top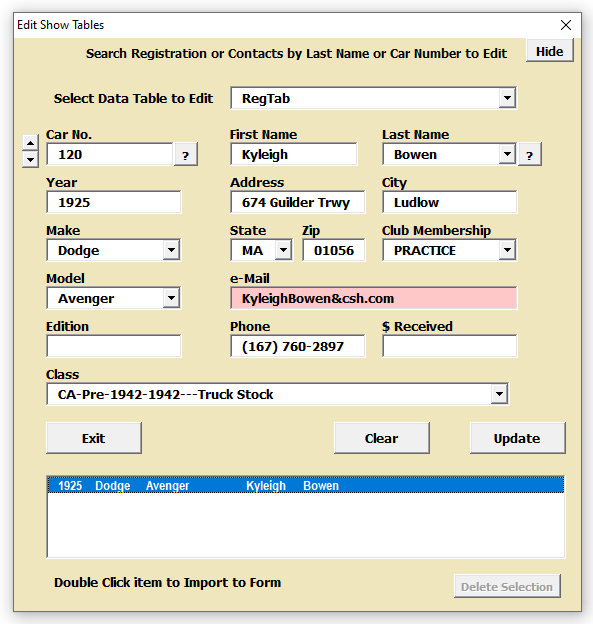
The Edit Show Table dialog looks a lot like the CarShowTools>Registration dialog. The main difference is that it targets a selected registration or contacts table. "CarShowTools->Registration" searches the Contacts table and posts to the Registration table. Edit Show Table searches and posts to the selected target table. Edit Show Table is mainly used to add or correct data such as non-required contact information in a car show table. You can search the target table by car number or Last Name. There is usually a lot of contact data on paper day-of-show registration forms that can be added after the show. In the figure we are editing car 120 in the Registration table.
Back to top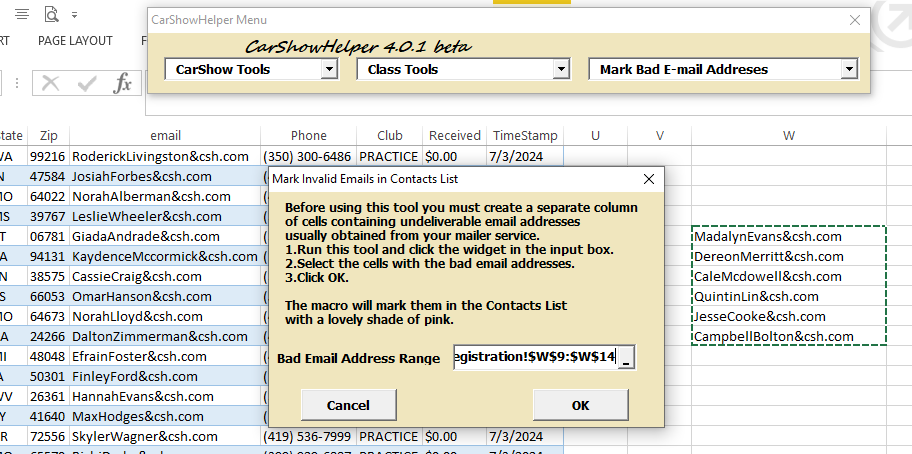
Car Show Helper does not validate e-mail addresses. The email addresses provided by registrants are sometimes incorrect, illegible, blocked, or fail due to other reasons. Simple Mail Merge (below) can create a bulk e-mail list for your mailing package. The mailing package will usually return a list of invalid email addresses.
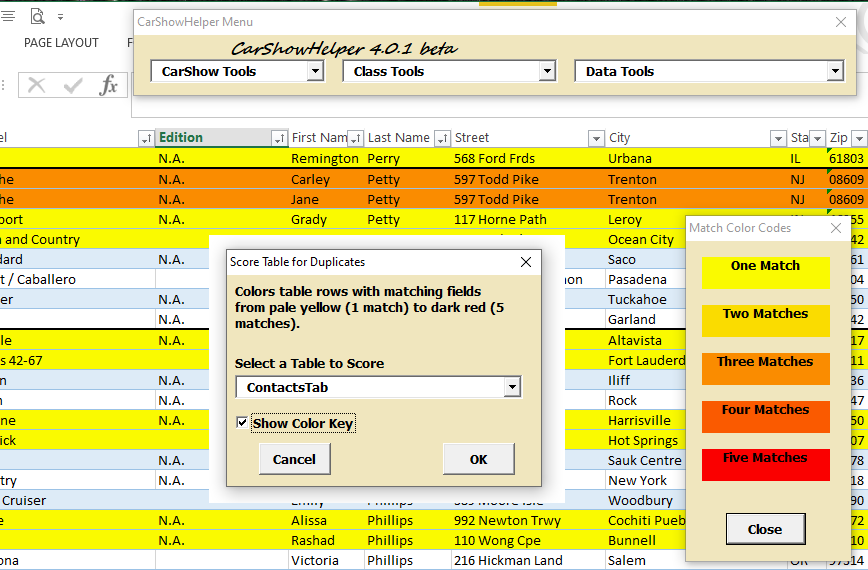
Marks possible duplicates in the selected sheet with colors from pale yellow to pure red depending on the number of identical matching Year, Make, Model, Edition, First Name, and Last Name cells. Determining and deleting actual duplicates is left to the user. Check the Show Color Key to display a color key along with the marked duplicates. The Color Key can also be displayed by running its own menu item.
Run "Reset Sheet Colors" to remove the Marker colors.
Back to top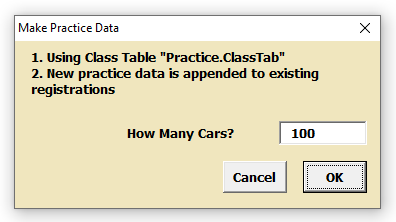
Uses the active class table, in this example it is the Practice.ClassTab, to create in the Registration sheet the requested number of synthetic participants belonging to the PRACTICE club. Does not Assign judging points, see Simulate Votes below. Appending to existing registrants created with a different class table is not recommended.
Back to top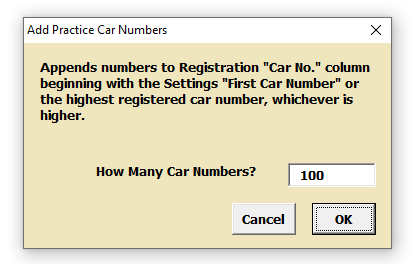
Legacy Tool. Just appends a bunch of car numbers to the Registration sheet. May save some annoying typing if you are adding registrations to the sheet manually without using the Registration Dialog.
Back to top
Simulates votes/points based on the judging table. Overwrites any existing judging results. Useful in learning how Car Show Helper Tally works. You can make your own fictive shows using Make Practice Data and Simulate Votes. The votes are pseudo-random in that they attempt to mimic the point or vote statistics of a real show.,
Back to top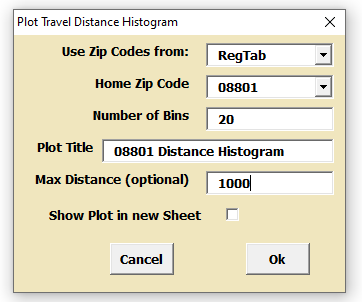
Plot travel Distances creates a histogram of as-the-crow-flies distances between a registrants's Zip code and the Zip code for your show location (or any other Zip location). It tells how many people traveled how far to attend your show. It may useful in promoting your show to a potential sponsor or selecting a potential site for a show.
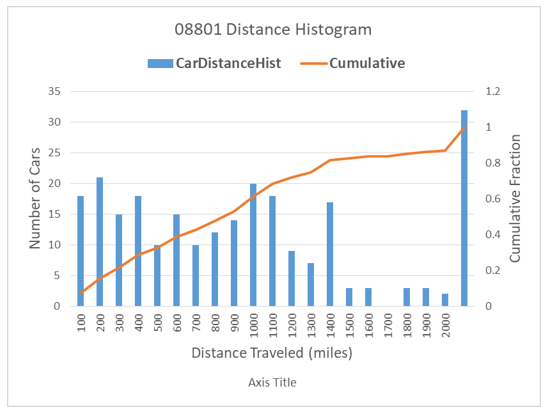
The plot shows that about 50% of registrants in this practice show traveled about 900 miles or less. Real shows will probably have much shorter travel distances.
Back to top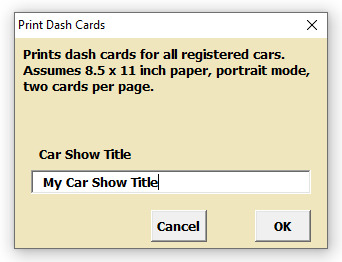
Most shows use dash cards to identify each car for judging. Print Dash Cards creates a simple dash card for each registered car in a formatted Excel sheet named "Print then Delete". Use Excel's Print Previewer to view the draft output. Delete the page after printing.
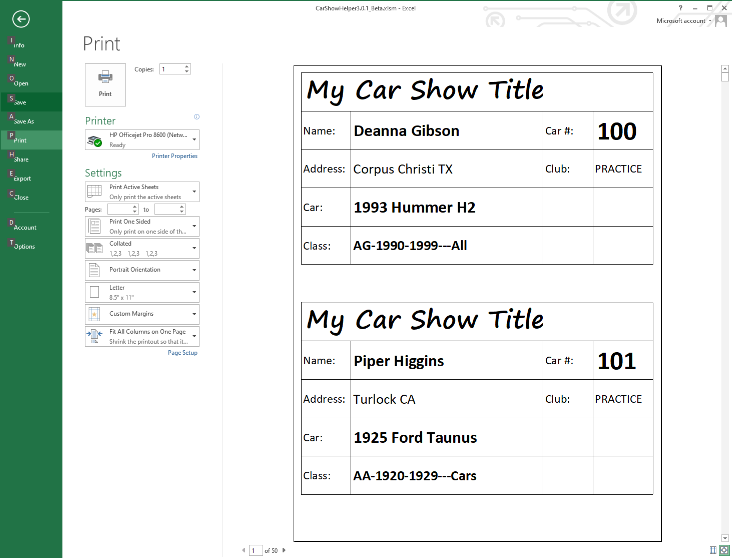
The show title and essential judging data are on the Dash Card. Owner information is limited to city, state and club affiliation.
Back to top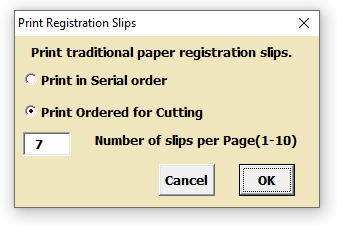
Many shows use a portion of a paper show flyer as a registration slip. Print Registration Slips provides some compatability with the paper registration process by creating paper slips for paperless on-line registered cars in a formatted Excel sheet named "Print then Delete". Use Excel's Print Previewer to view the draft output. Delete the page after printing.
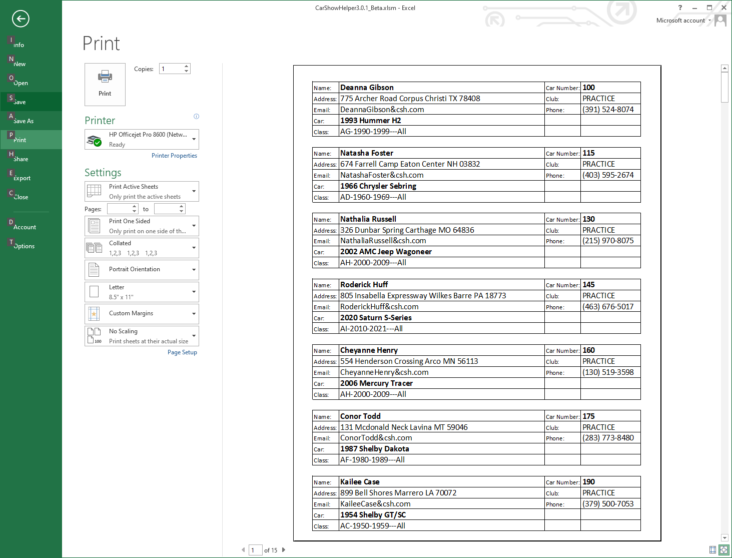
The registration slips were printed in cut order, 7 slips per page requiring 15 pages for all of the slips in our make-believe show. Car 100 is in the top row. Car 101 is in the top row on the second page etc. Slicing off the top row gives slips for cars 100 to 114. Car 115 is in the second row on the first page.
Back to top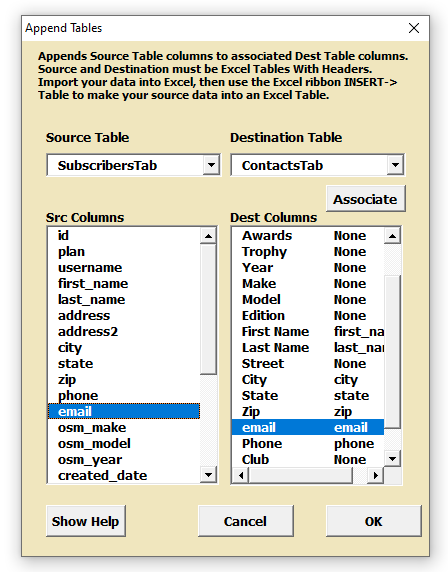
Append Tables appends the columns of a source table to the associated columns of a destination table. The source table can be any excel table with column headers. "city", "state", "zip" in the figure are examples of column headers. The figure shows a typical use, importing the subscriber data collected by an on-line registration website (in this case a Joomla CMS back-end report) into the "Contacts" sheet using the following steps:
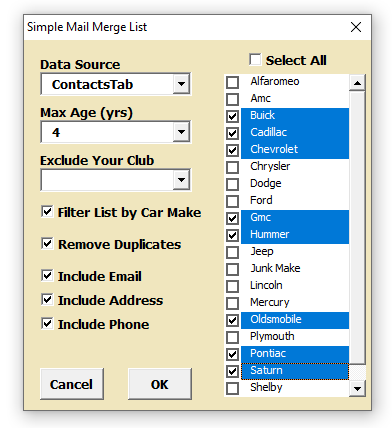
Simple Mail Merge creates a new workbook containing a filtered list of of contact information for bulk e-mail, USPS mail, or both.